Notice: We will be away from 6 to 12 Aug. Orders placed during this period will be processed and shipped starting 13 Aug. Thank you for your patience and support!
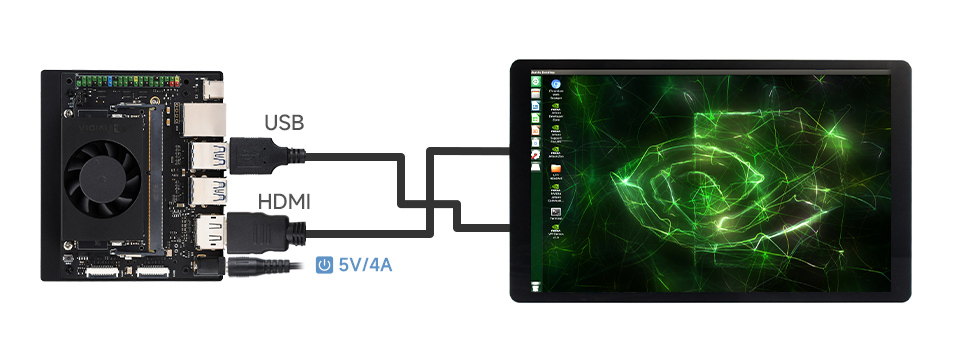
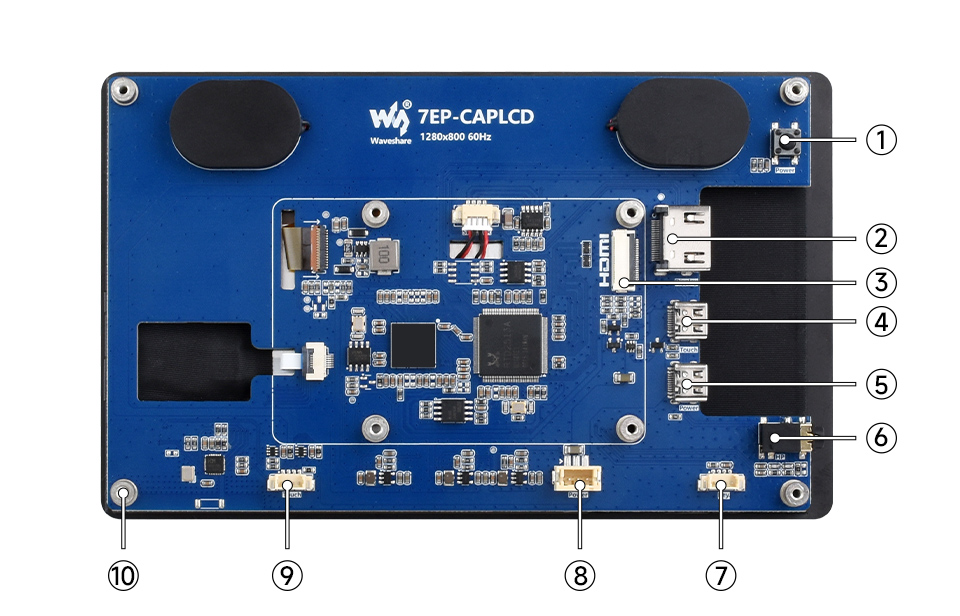
Prepare the accessories as shown above, here we take Raspberry Pi 5 as an example
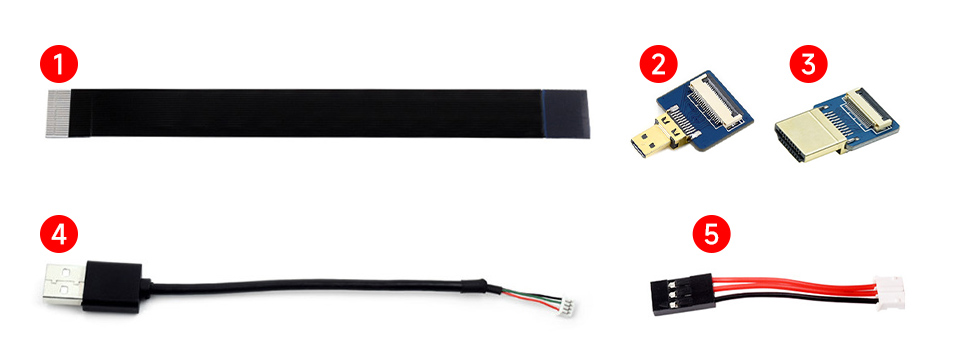
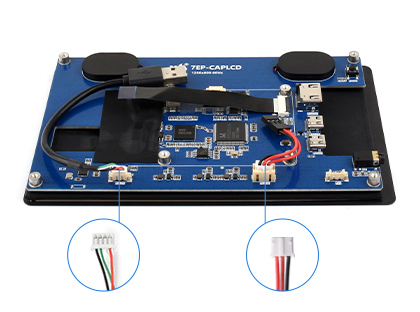
Step 1: Connect the cable ①, ④, and ⑤ to the corresponding positions as shown in the picture above.
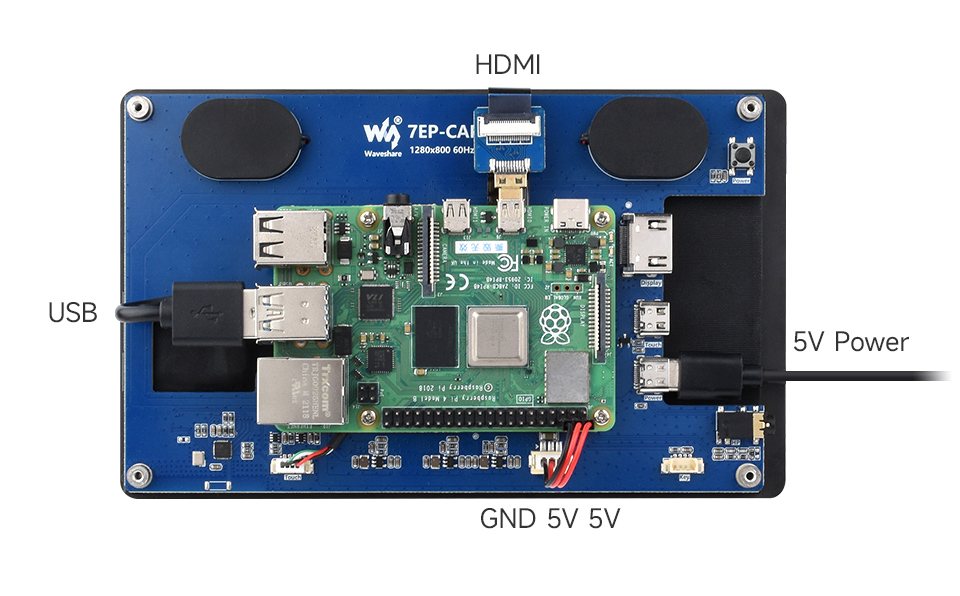
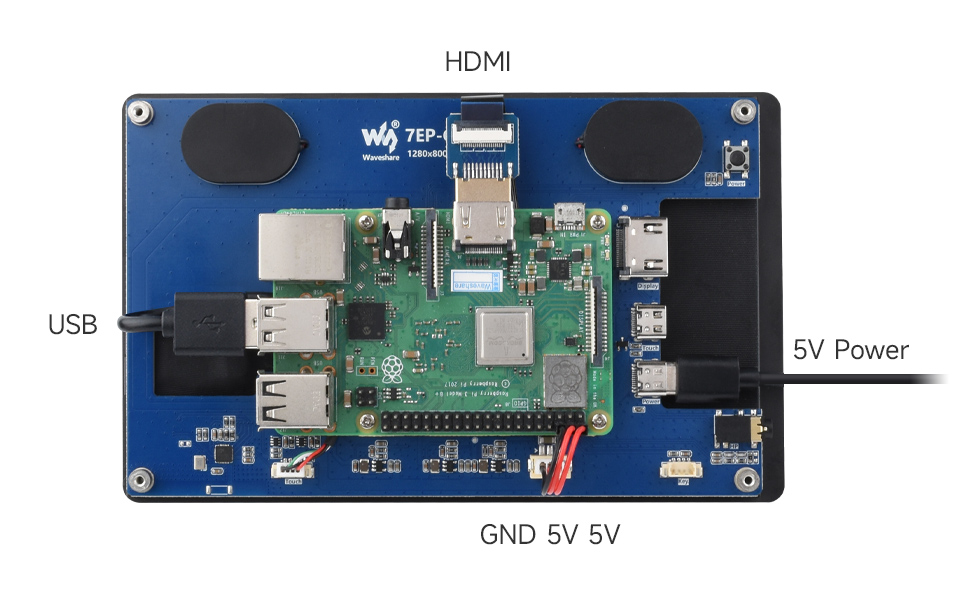
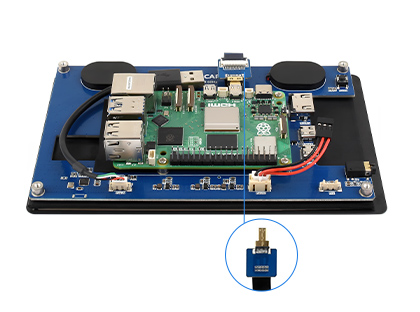
Step 2: Install the Raspberry Pi 5 on the PCB board of the LCD, connect the HDMI adapter to the cable ① (select HDMI adapter ② or ③ according to your Raspberry Pi model) and then connect it to the Raspberry Pi Micro HDMI port.
Step 3: Connect the cable ④ to the USB port of the Pi and connect the cable ⑤ to the GPIO 5V and GND pins as shown above.
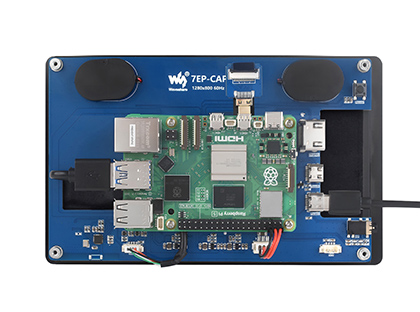
Step 4: Complete the assembly as shown in the picture and ensure all connections are correct, then connect to a 5V power supply and power on.
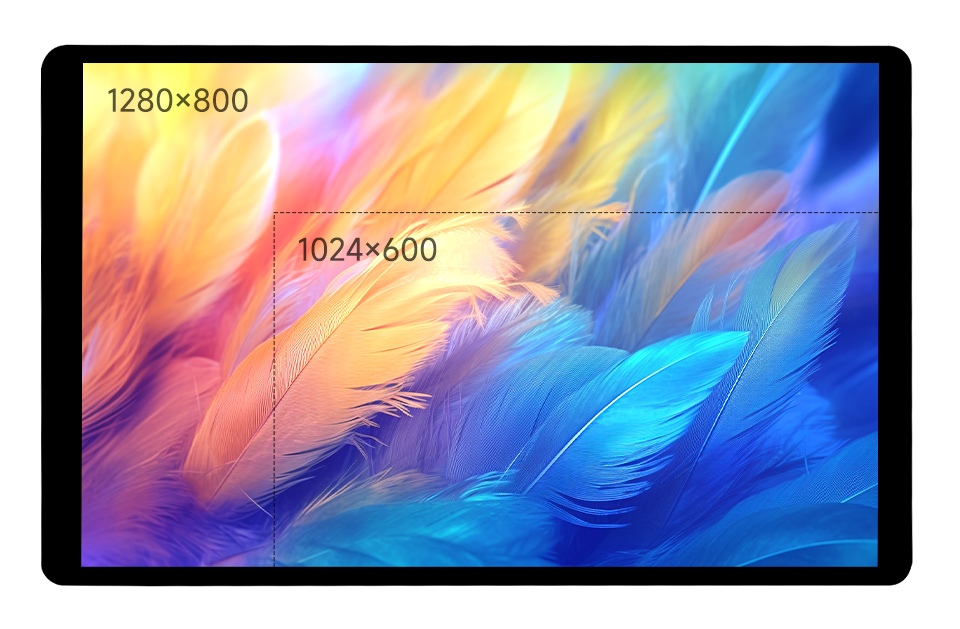
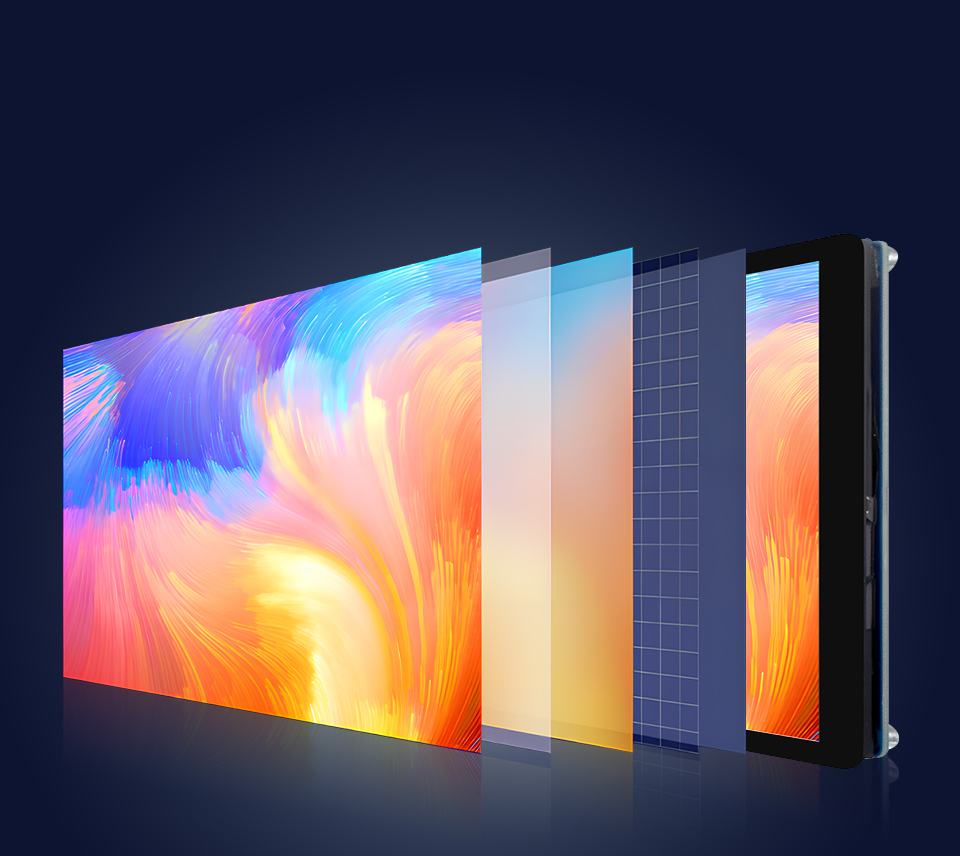
Technology upgrade, better image quality
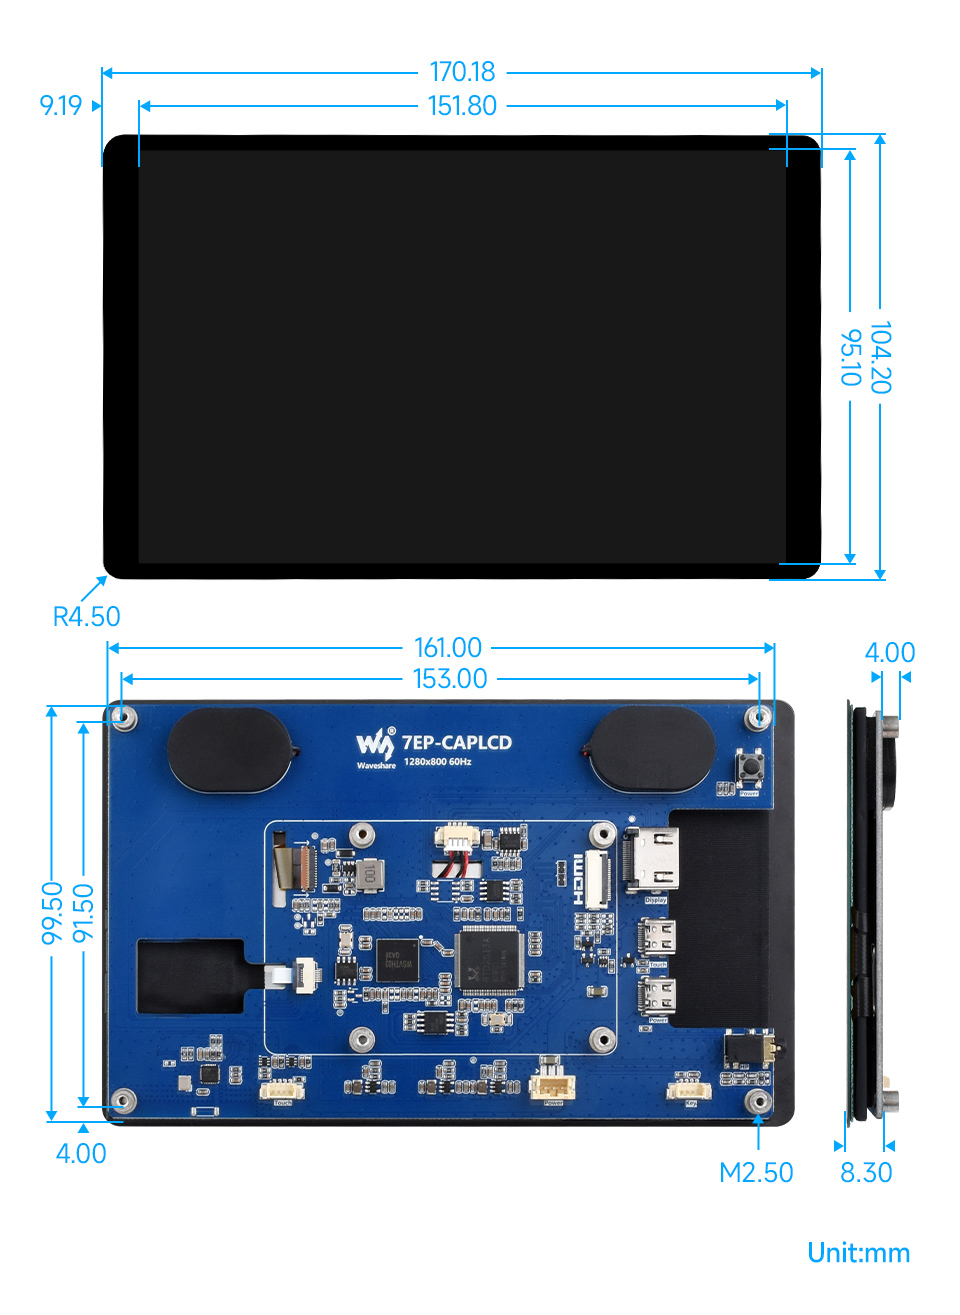
1280 × 800 resolution, provides clear image and vivid color display effect
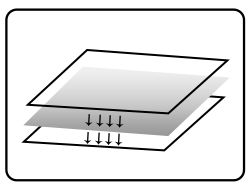
IPS Display Panel
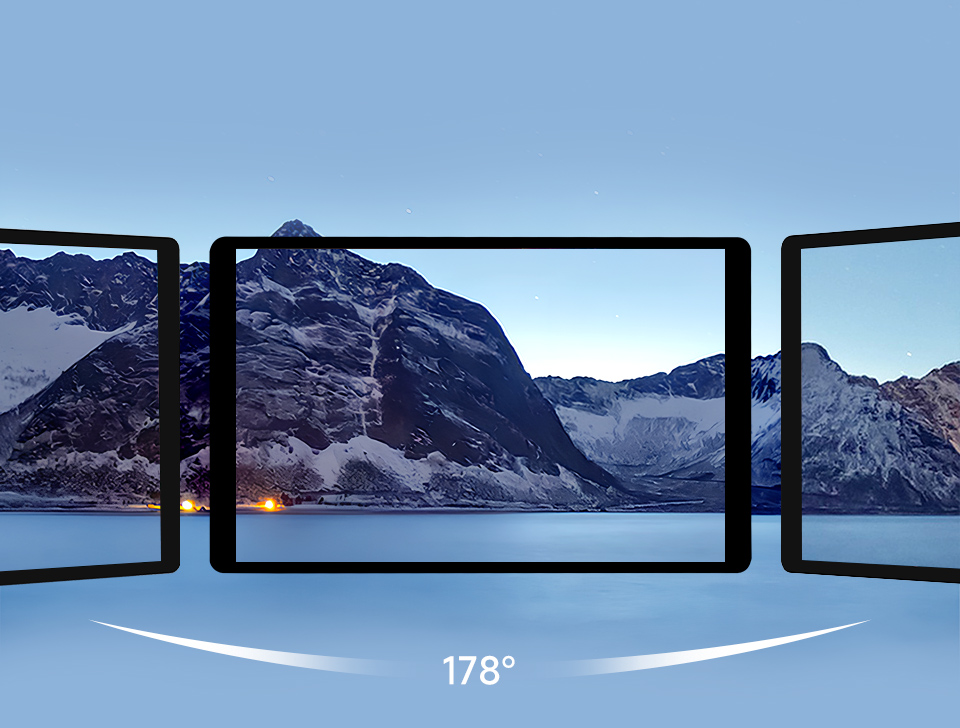
Excellent Display Performance With 178° Wide Viewing Angle
Wide Color Gamut LED technology
Wider Color Gamut, More Pure Chroma
Color Gamut Of This Display Is Up To NTSC 68%, Chroma Increases 58.3%, Makes The Color More Pure, More Vivid
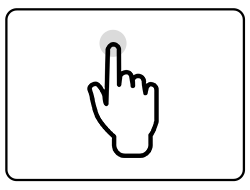
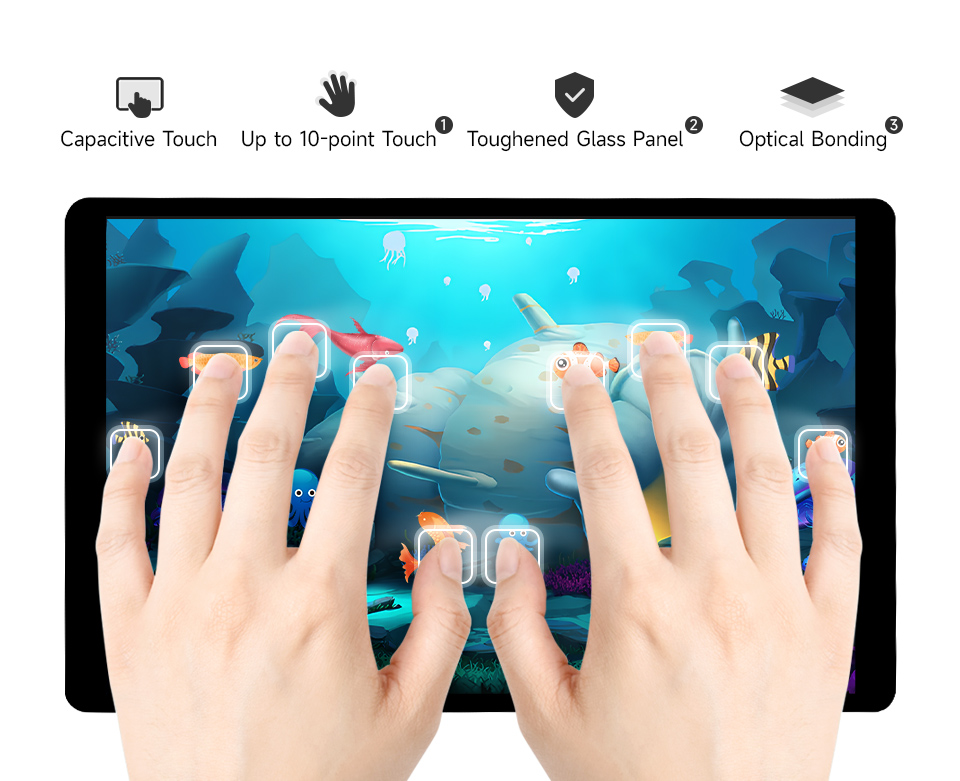
Capacitive 10-Point Touch
up to 10-point touch, depending on the operating system